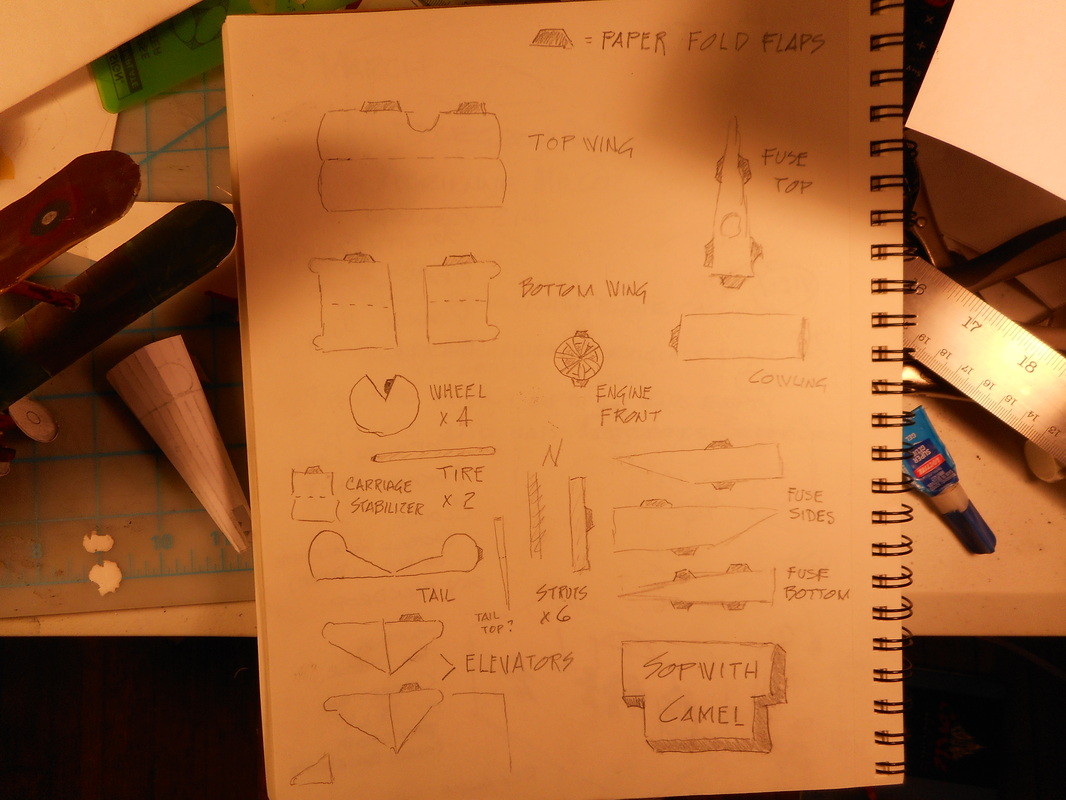
How to fold a paper airplane.
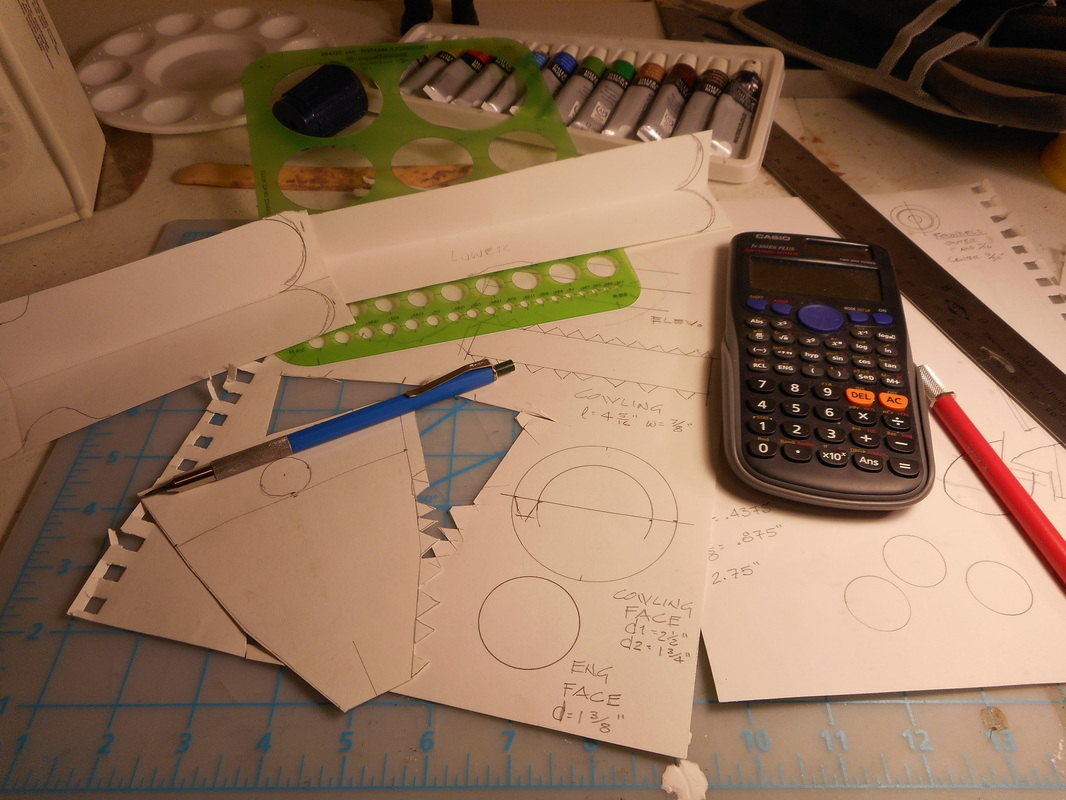
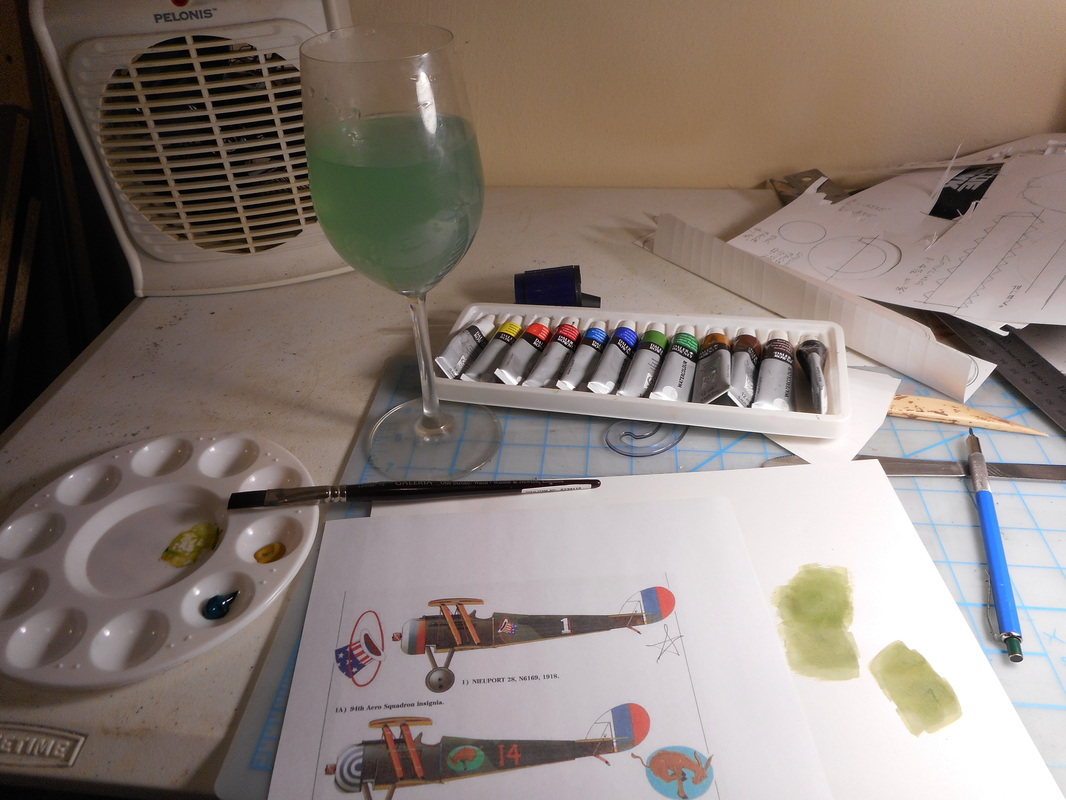
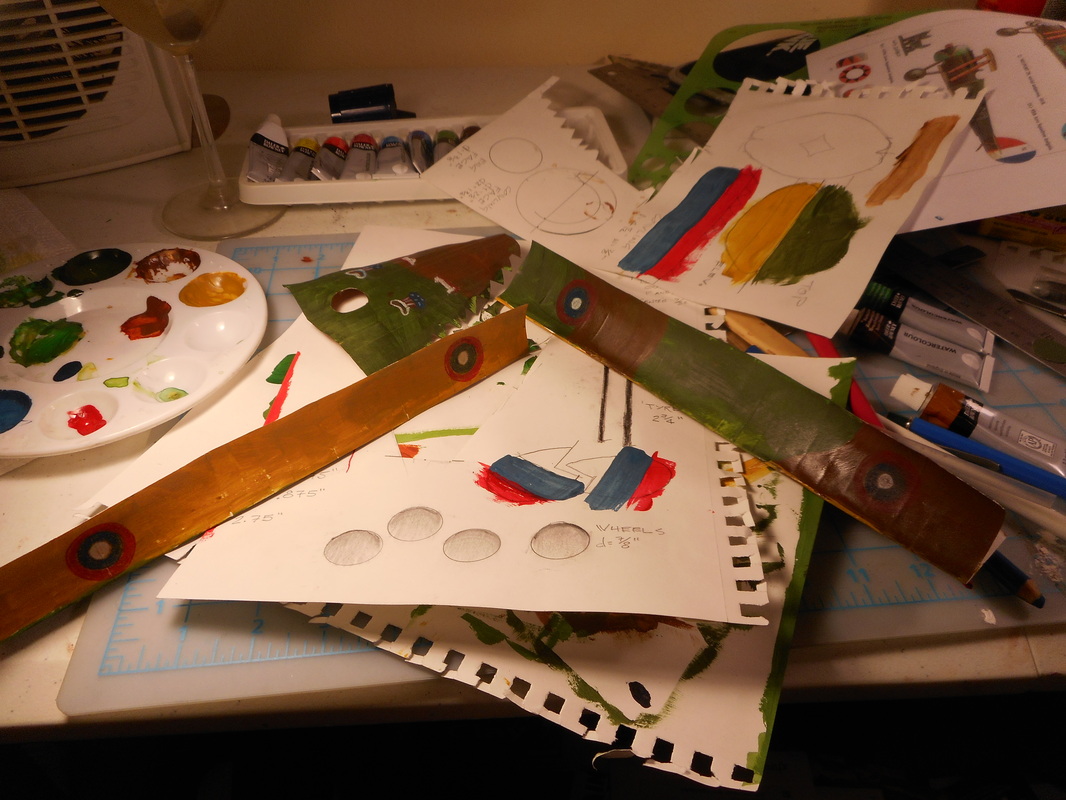
STEP 1: Take several sheets of 117g/m^2 paper & watercolor paints and place on preparation table.
STEP 2: Fold sheets gently until it looks like the image below and paint.
STEP 2: Fold sheets gently until it looks like the image below and paint.
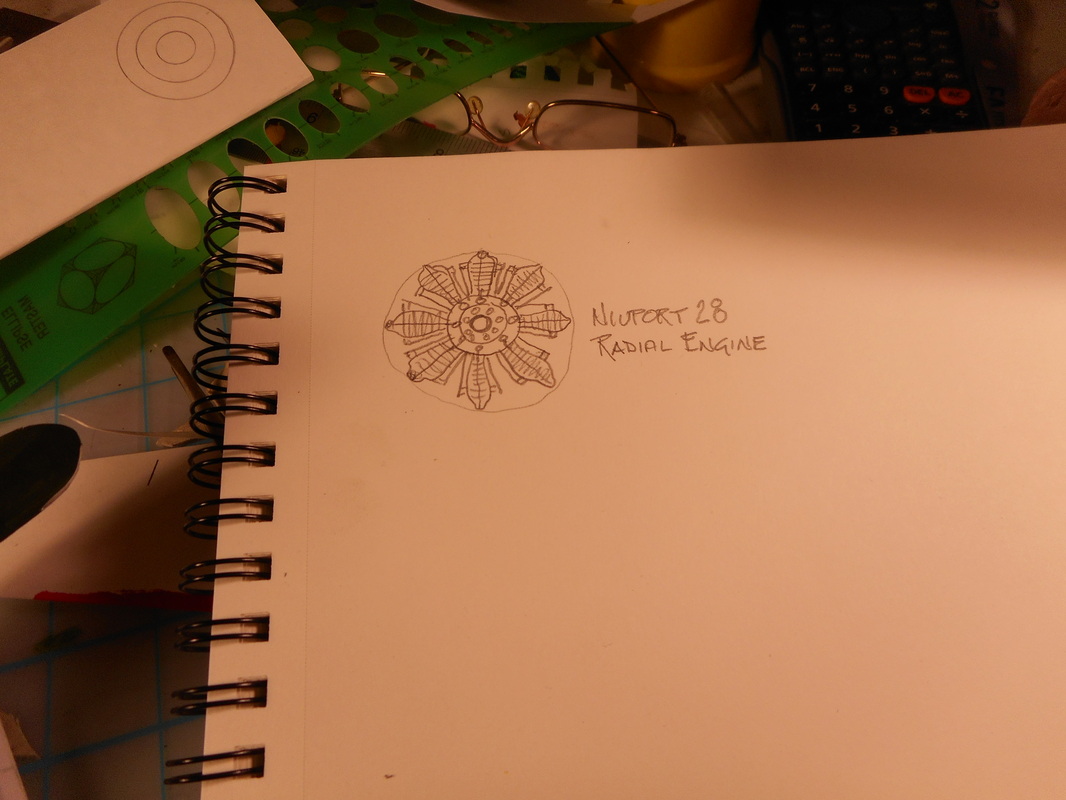
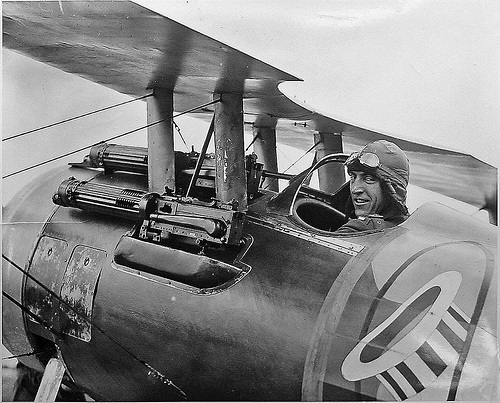
Nieuport 28.
In March 1918 when the US Air Service arrived in France as part of the American Expeditionary Force to World War I, it had no aircraft. As war with the Central Powers had come rather quickly, there wasn't sufficient time to build enough aircraft nor enough room on cargo ships to ferry the existing planes to Europe. Instead, the US purchased the Nieuport 28 French aircraft produced by the Societe Anonyme des Etablissements Nieuport which had already been building and improving fighter planes since the before the war. Nieuport had also supplied the "Valiant 38", early American volunteers in the Lafayette Escadrille with Nieuport 11s since 1916.
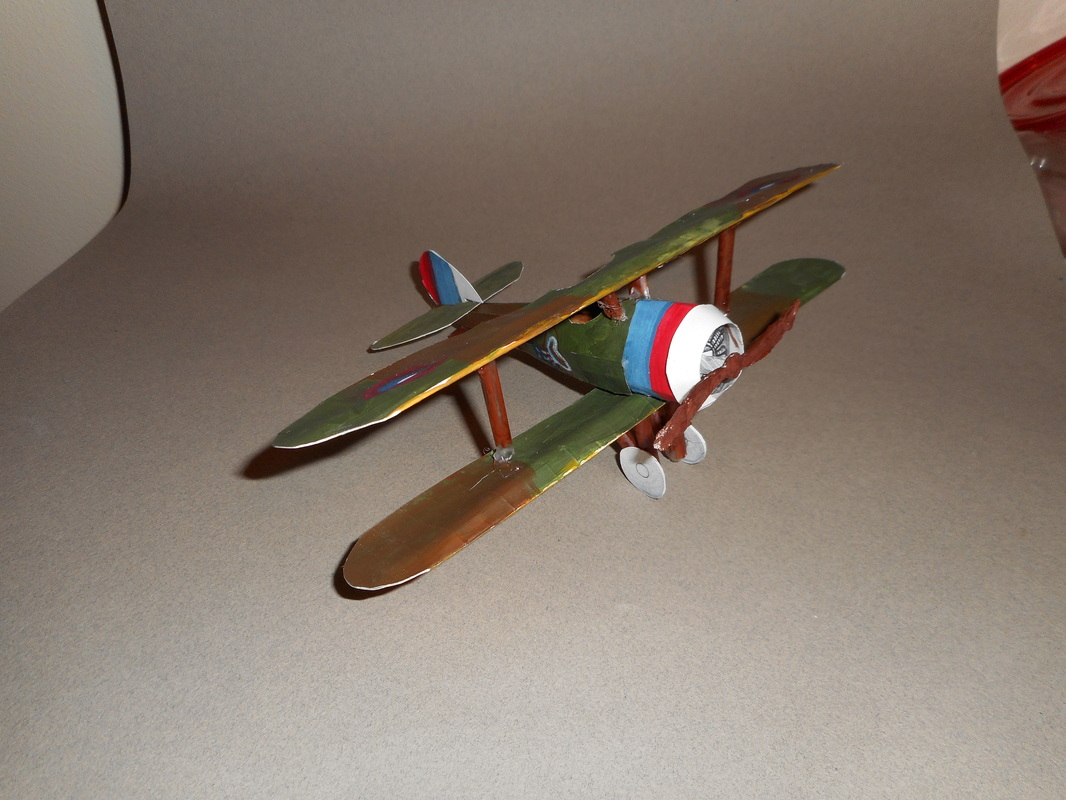
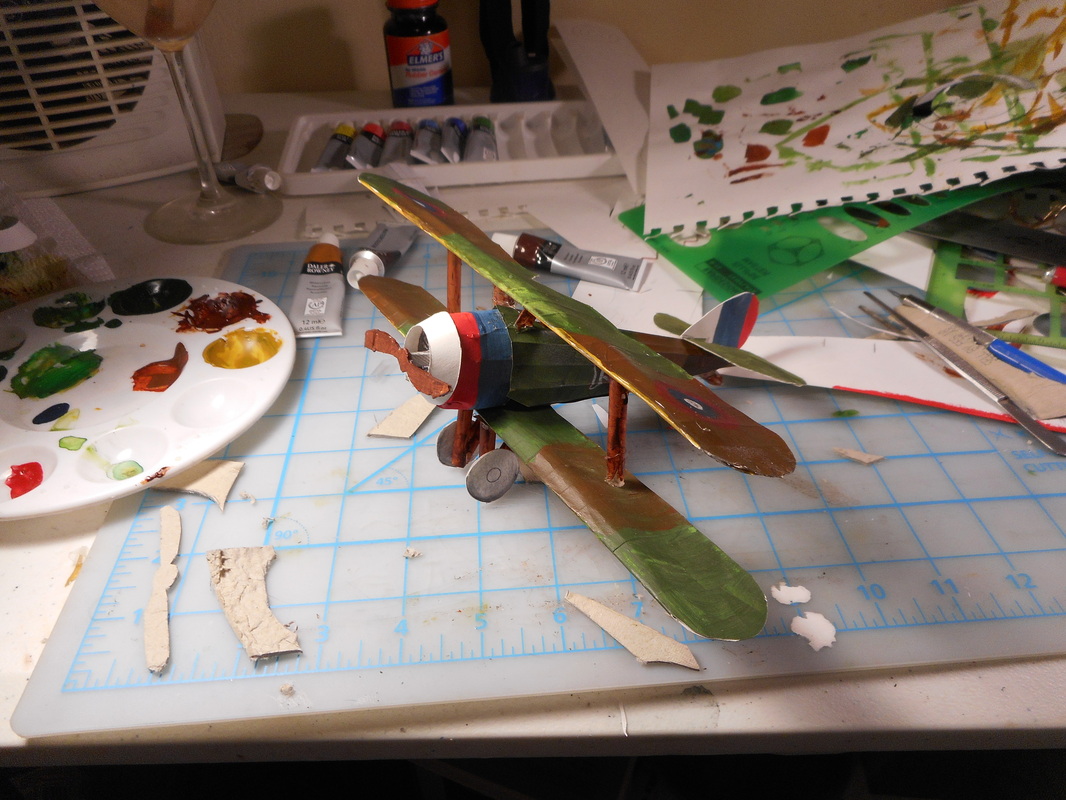
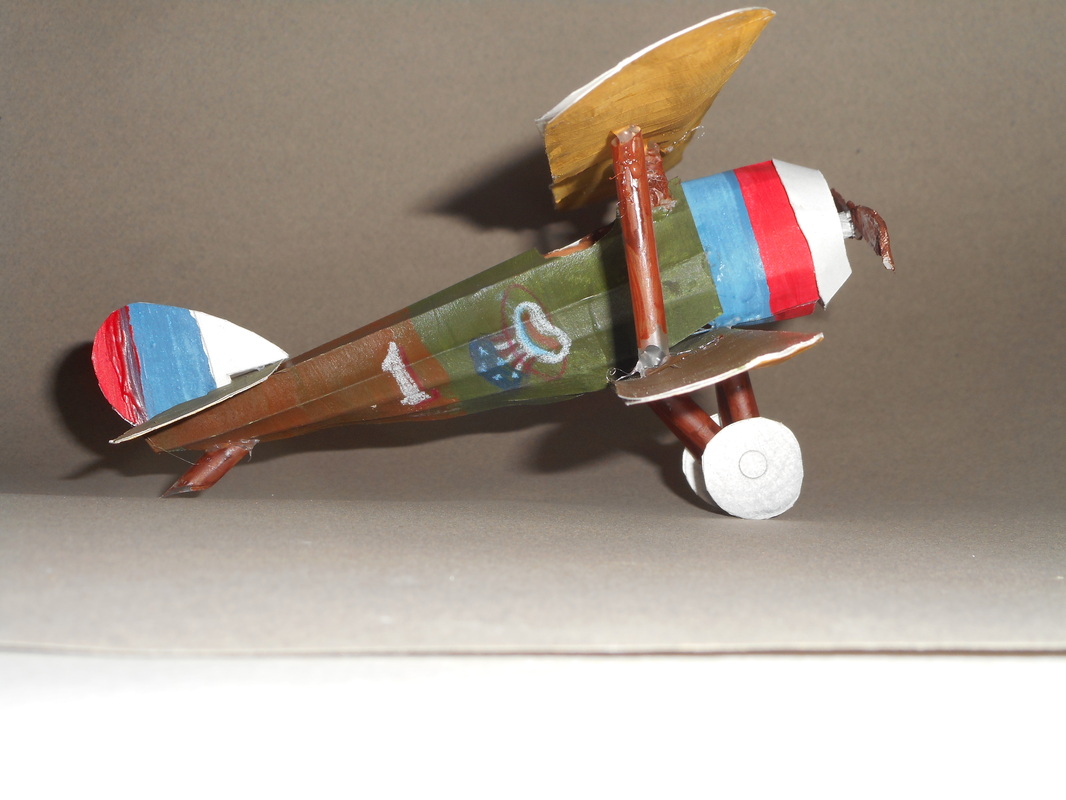
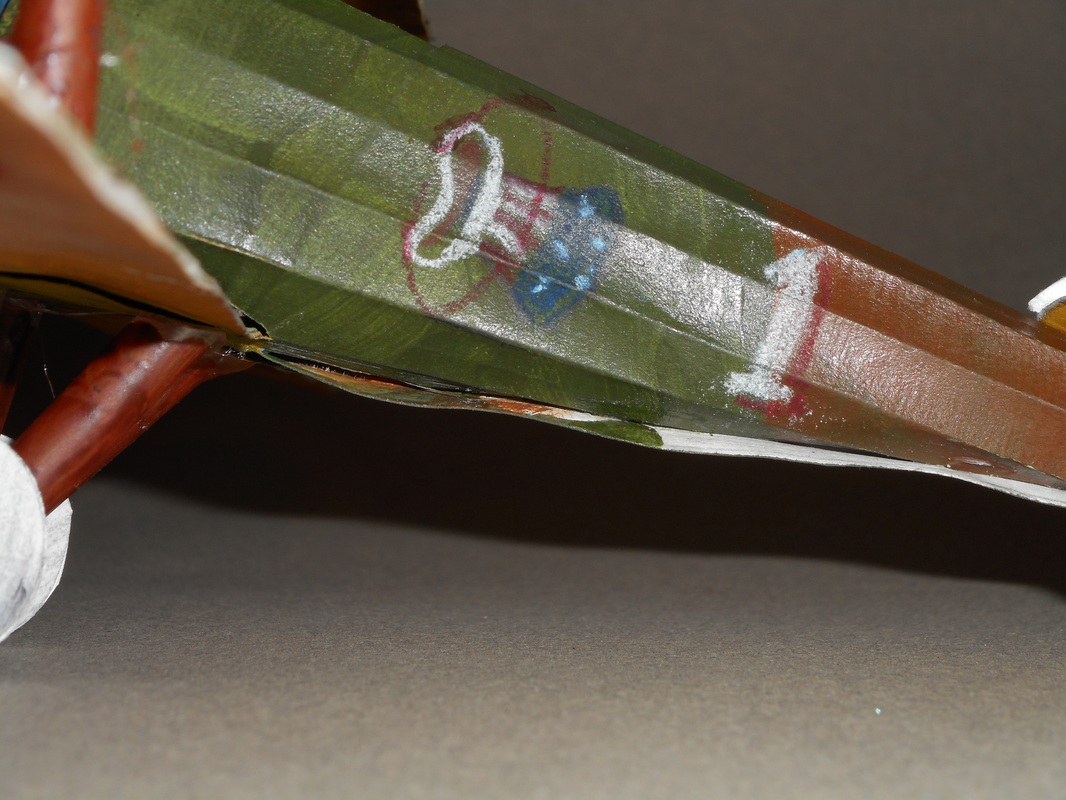
The first unit to receive the Nieuport 28 was the 94th Aero Squadron, whose livery was recreated on this project. Known for their insignia of an "Uncle Sam Hat" being tossed into a ring, a bit of tongue-in-cheek of America's involvement, it was also the unit of Top US Ace Capt Eddie Rickenbacker whom scored his first 6 of his 26 total aerial victories in the "1" Nieuport 28 Ser No. N6169. Until proper armament could be procured, it was used chiefly as a scout plane (as depicted here) and a total of 297 were produced before being phased out by the French & US Air Services in Aug 1918 in favor of the Spad XIII.
Specifications (courtesy of http://www.theaerodrome.com)
Engine(s): Gnôme Monosoupape 9N, 9 cylinder, air cooled rotary, 160 hp
Wing Span: 26 ft 9 in (8.15 m)
Length: 21 ft (6.40 m)
Height: 8 ft 1¾ in (2.5 m)
Empty Weight: 1,172 lb
Gross Weight: 1,627 lb (737 kg)
Max Speed: 122 mph (196 km/h)
Ceiling: 16,995 ft (5,180 m)
Endurance: 1½ hours
Crew: 1
Process
Paper! What the hell was I going to make out of paper? The rubric called for something wearable or a shrine to an object to be made of paper.
My original idea was a DNA strand to be made up of dodecahdrons (12-sided 3D platonic objects), but that seemed too bland and boring. I was ready to go home and stare at the ceiling for several hours until one of my classmates (A.J.) found a program online that unwraps 3D .obj files into printable paper model templates.
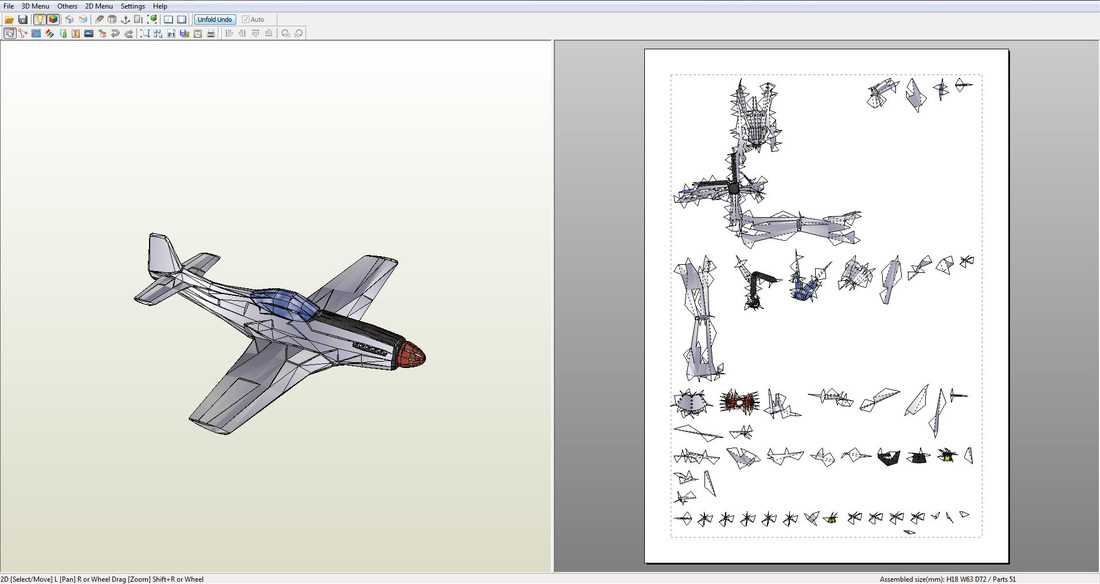
I went home and downloaded the program and began importing some various files that I had created over the years. Alas, this neat little program had a major flaw: it couldn't recognize planes (in the 3D sense) as solid objects and would break them up into unusable smaller pieces (fig. 1).. I spent almost a week trying to break up my models into simpler pieces before importing them, but each time produced unfavorable results. In other words, it didn't work.
The program did, however, teach me to create attachment flaps (in the paper sense) to glue onto other pieces. After feeding enough airplanes into the program, I found the concept of making a paper airplane towards my college degree amusing and decided to run with it. It was either going to be a paper airplane or something else amusing such as a paper cutter made of paper, but I thought it best to leave the philosophy gags about Renee Descartes and Immanuel Kant to Monty Python.
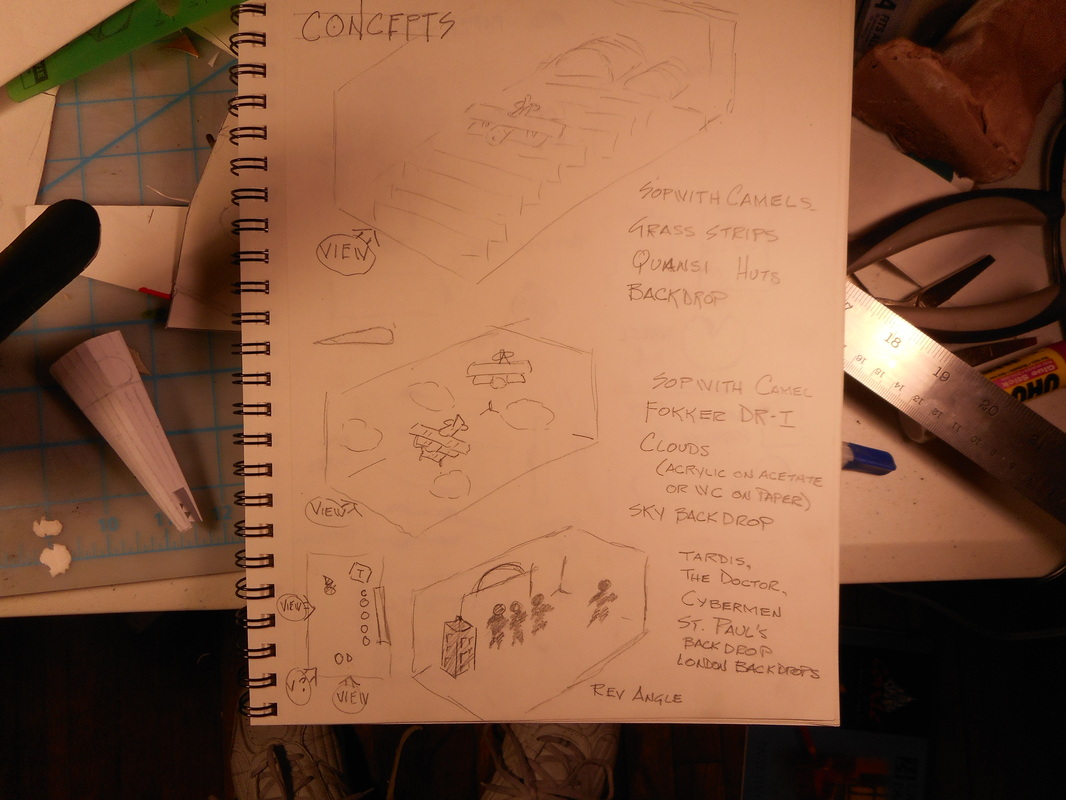
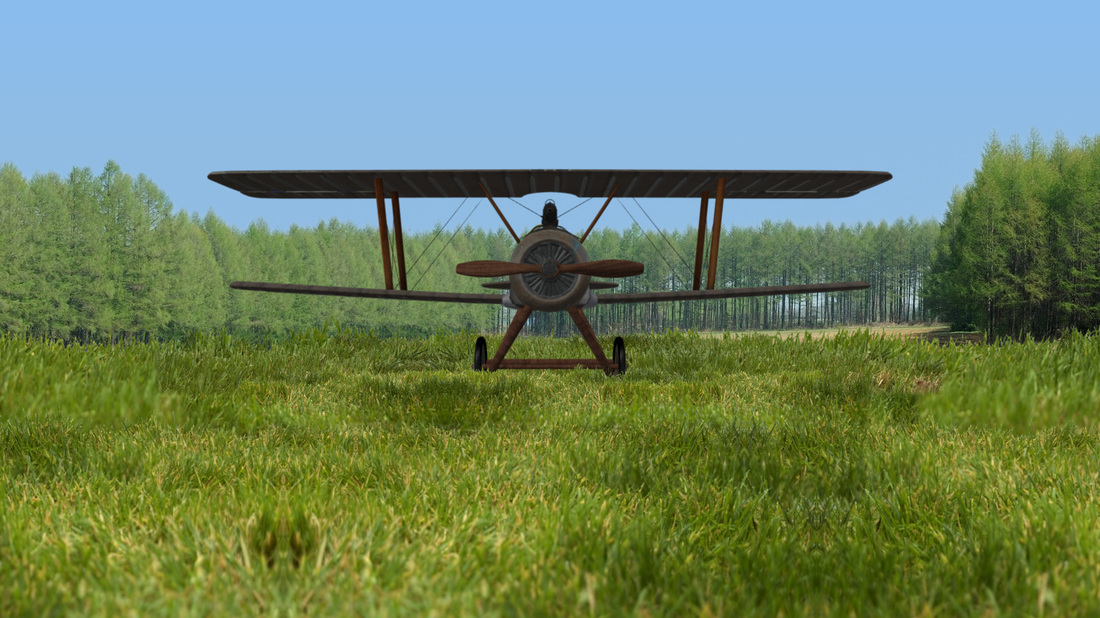
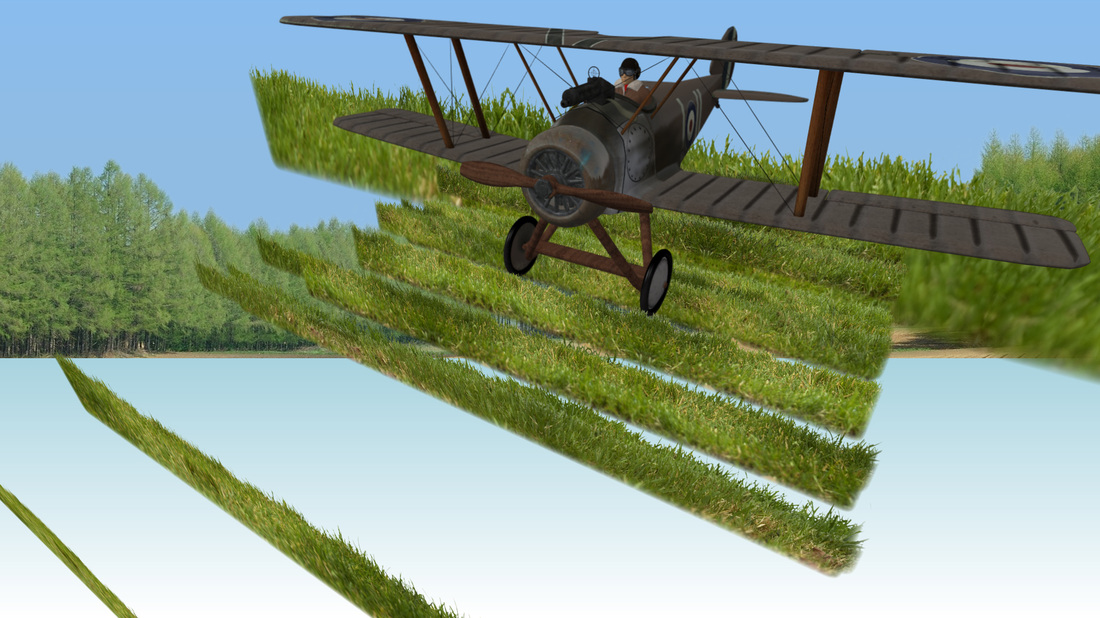
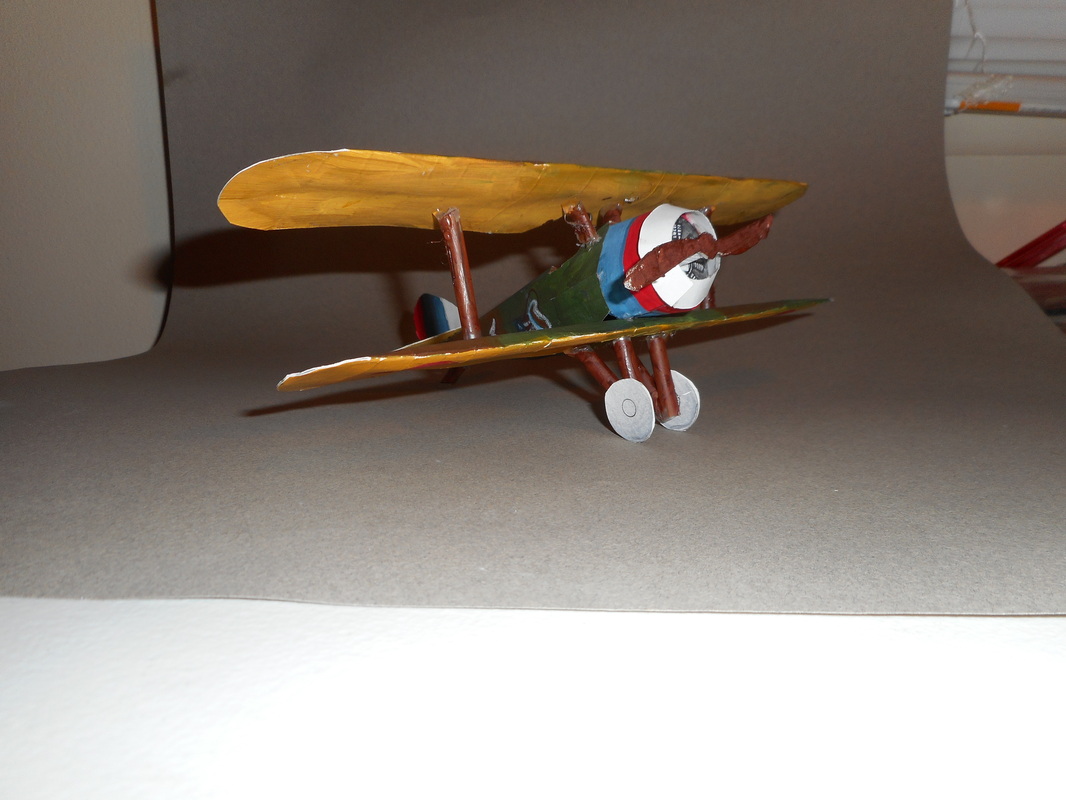
Even though the plane (in the aircraft sense) would be difficult enough, I wanted to push the idea even further and create a diorama (fig. 2,3, & 4). I initially chose a Sopwith Camel, used by numerous US Air Service Units in WWI. I had been working with the Camel previously on a 100th Anniversary WWI documentary project that was shelved upon my return to NIU, however, there was the issue of the engine & exhaust manifolds and bare aluminum engine cowling. (fig 5). It wouldn't look right, so it was either time to reconsider the dualities of life with the paper cutter or find a different 'aeroplane.'
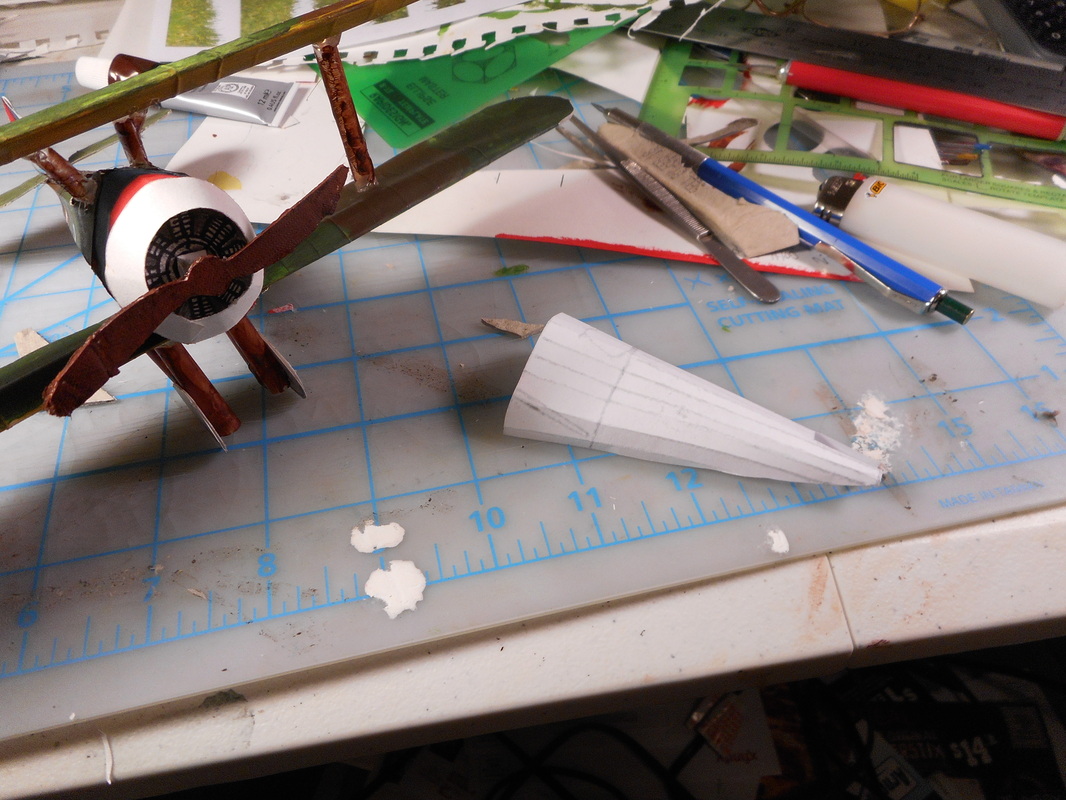
After considering about six or seven, I opted for the Nieuport 28. After mapping out several possibilities on my favorite 3D program, I made the pieces too large for an 8 1/2 x 11 template sheet and had to scale them down in my paint program. "Do you wish to scale it down?" Yes. Unfortunately this yielded unfavorable results (fig. 6 & 7). Unfortunately, I would discover this nasty error until I began to put it together. It was time to get the drafting toys out and do it the old fashioned way.
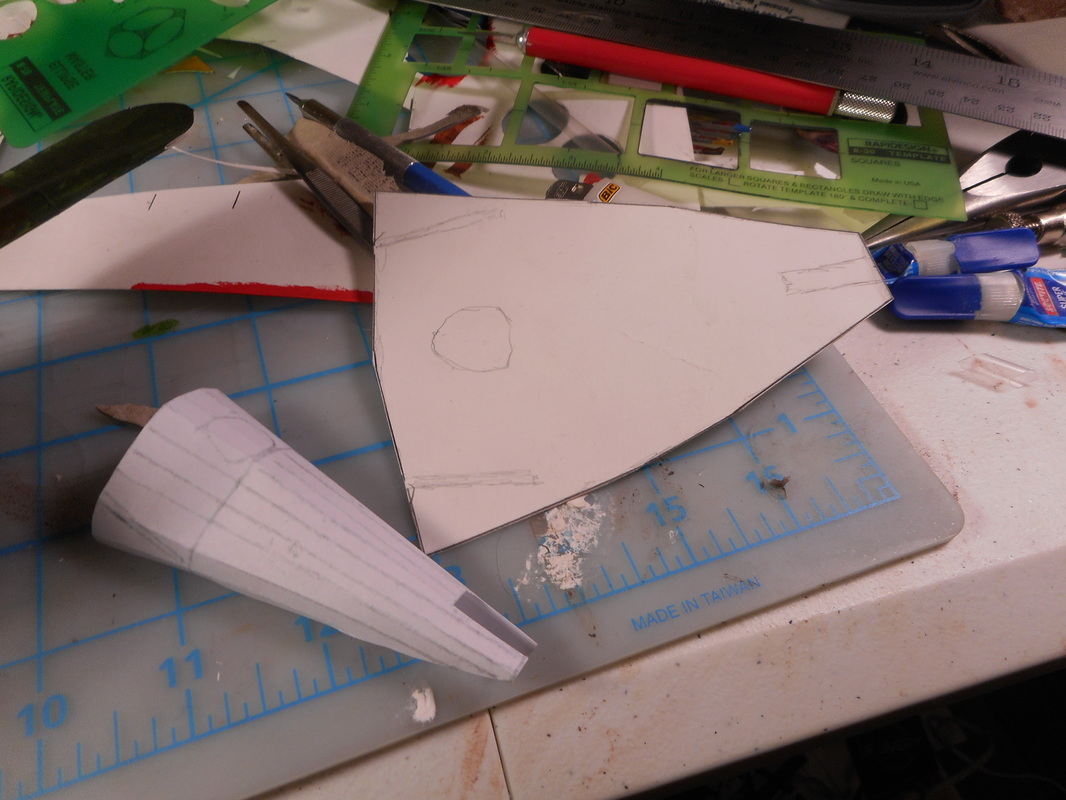
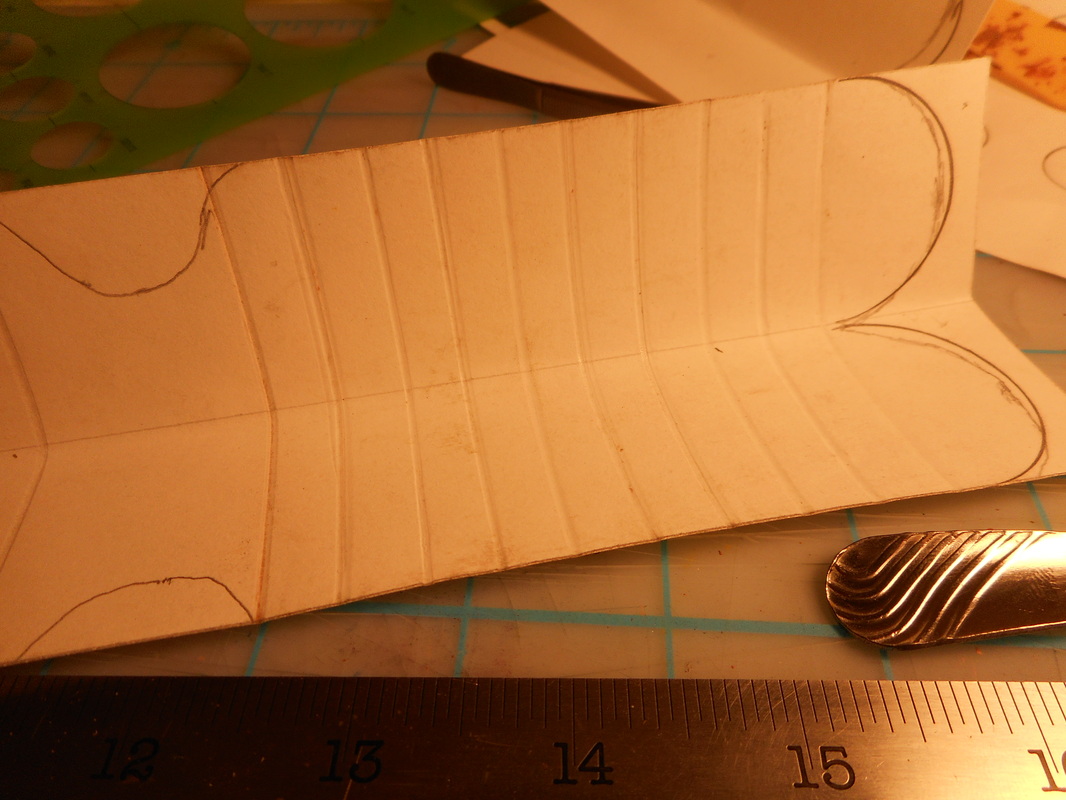
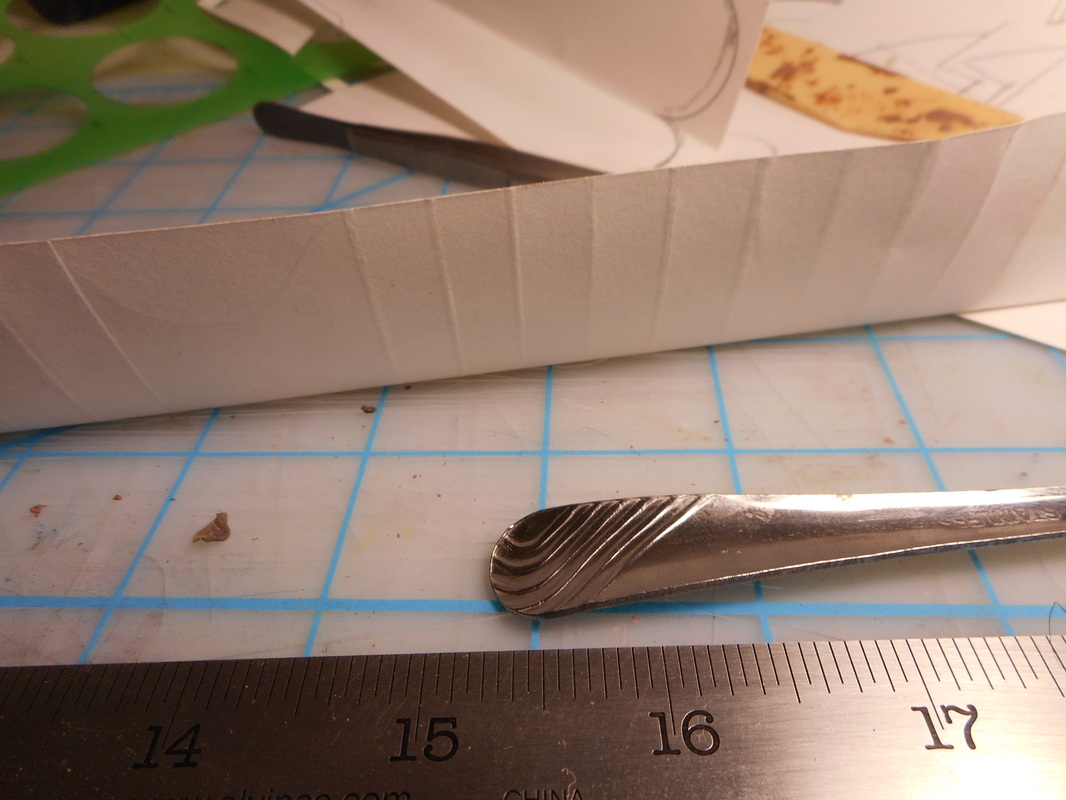
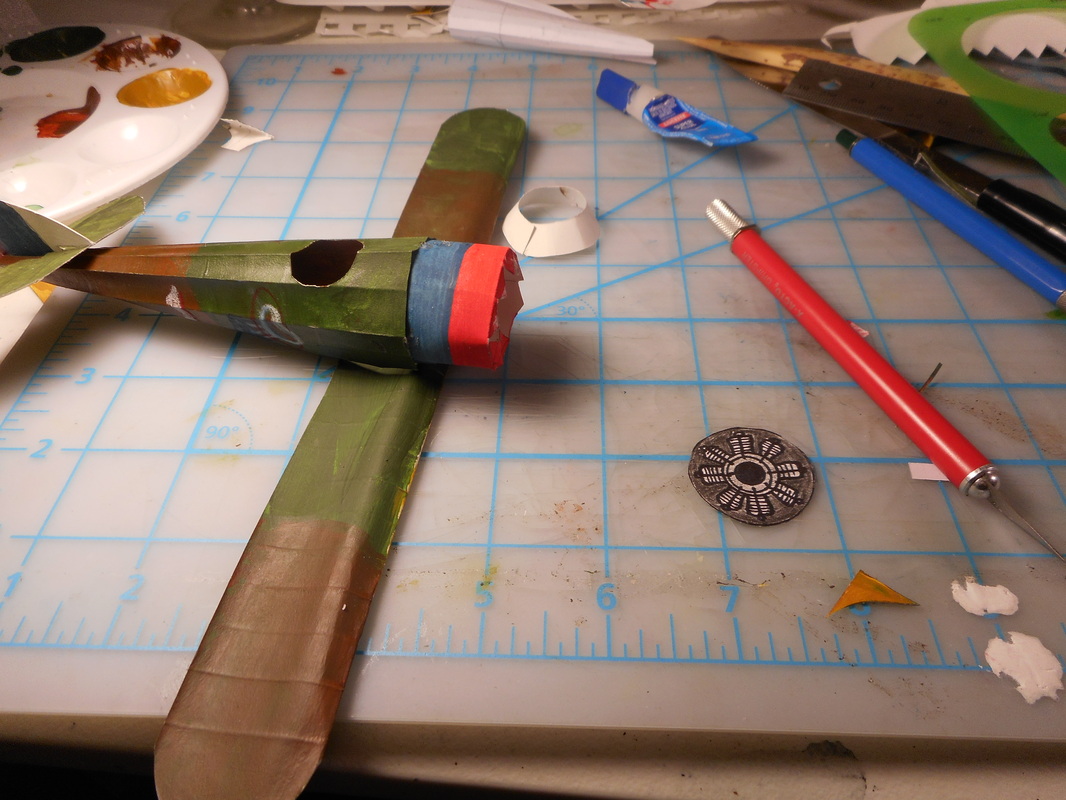
The rest of the process is pretty much self explanatory, but rather than take a month to create little itty bitty wing and fuselage ribs for the wing shape and somehow TRY to make them show through the paper, I simplified the method. To create the ribs, I scored the inside of the wing with a fork handle every 3/8" and thereby embossing the wing exterior. For the thicker leading edge, I folded the paper around a plastic drinking straw. The struts, landing gear frame, and tail piece are also plastic drinking straws that were painted brown to look like wood.
Although creating the flaps (in the paper sense) did make some attachments easier, I still ran into an issue of scale. I feel if I had created an even larger plane that it would've been easier to assemble.
My original idea was a DNA strand to be made up of dodecahdrons (12-sided 3D platonic objects), but that seemed too bland and boring. I was ready to go home and stare at the ceiling for several hours until one of my classmates (A.J.) found a program online that unwraps 3D .obj files into printable paper model templates.
I went home and downloaded the program and began importing some various files that I had created over the years. Alas, this neat little program had a major flaw: it couldn't recognize planes (in the 3D sense) as solid objects and would break them up into unusable smaller pieces (fig. 1).. I spent almost a week trying to break up my models into simpler pieces before importing them, but each time produced unfavorable results. In other words, it didn't work.
The program did, however, teach me to create attachment flaps (in the paper sense) to glue onto other pieces. After feeding enough airplanes into the program, I found the concept of making a paper airplane towards my college degree amusing and decided to run with it. It was either going to be a paper airplane or something else amusing such as a paper cutter made of paper, but I thought it best to leave the philosophy gags about Renee Descartes and Immanuel Kant to Monty Python.
Even though the plane (in the aircraft sense) would be difficult enough, I wanted to push the idea even further and create a diorama (fig. 2,3, & 4). I initially chose a Sopwith Camel, used by numerous US Air Service Units in WWI. I had been working with the Camel previously on a 100th Anniversary WWI documentary project that was shelved upon my return to NIU, however, there was the issue of the engine & exhaust manifolds and bare aluminum engine cowling. (fig 5). It wouldn't look right, so it was either time to reconsider the dualities of life with the paper cutter or find a different 'aeroplane.'
After considering about six or seven, I opted for the Nieuport 28. After mapping out several possibilities on my favorite 3D program, I made the pieces too large for an 8 1/2 x 11 template sheet and had to scale them down in my paint program. "Do you wish to scale it down?" Yes. Unfortunately this yielded unfavorable results (fig. 6 & 7). Unfortunately, I would discover this nasty error until I began to put it together. It was time to get the drafting toys out and do it the old fashioned way.
The rest of the process is pretty much self explanatory, but rather than take a month to create little itty bitty wing and fuselage ribs for the wing shape and somehow TRY to make them show through the paper, I simplified the method. To create the ribs, I scored the inside of the wing with a fork handle every 3/8" and thereby embossing the wing exterior. For the thicker leading edge, I folded the paper around a plastic drinking straw. The struts, landing gear frame, and tail piece are also plastic drinking straws that were painted brown to look like wood.
Although creating the flaps (in the paper sense) did make some attachments easier, I still ran into an issue of scale. I feel if I had created an even larger plane that it would've been easier to assemble.
Reflection.
The project is resolved as is, however, I still wish to revisit the diorama concept as Phase 2. There are still a few minor adjustments that I will make, but for now, Capt Eddie Rickenbacker's plane is done. This is the very first art/design project that I've ever turned in late. I half-way expected to be finishing it while sitting in my cardboard chair (the next project).
Once I've completed that aspect at some unknown point in the future, I never want to work with paper again. Although creating the flaps (in the paper sense) did make some attachments easier, I still ran into an issue of scale and pieces not fitting together as planned or expected. I feel if I had created an even larger plane that it would've been easier to assemble, yet would still be a pain in the @$$.
KC
(24-March-2015)
